AstralPool chlorinator cells
Which replacement cell each of the 18 AstralPool salt chlorinators sold in Australia takes, with dated prices from 5 Australian sellers, genuine and compatible side by side.
Viron V18, eQuilibrium EQ18 and Halo Chlor 18 electrode 12915takes 12915
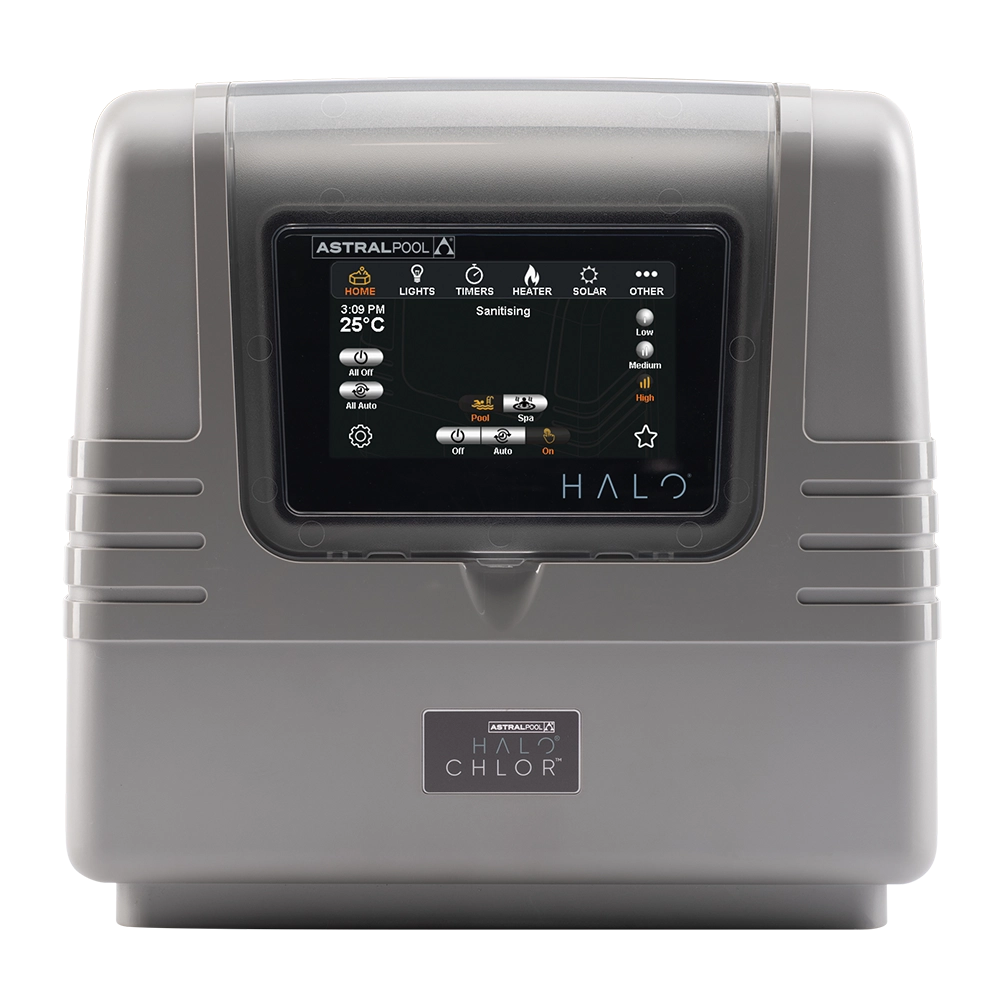


Viron V25, eQuilibrium EQ25 and Halo Chlor 25 electrode 12916takes 12916
Viron V35, eQuilibrium EQ35 and Halo Chlor 35 electrode 12917takes 12917
Viron V45, eQuilibrium EQ45 and Halo Chlor 45 electrode 12918takes 12918
VX6 and E-Series E25 electrode 21915takes 21915
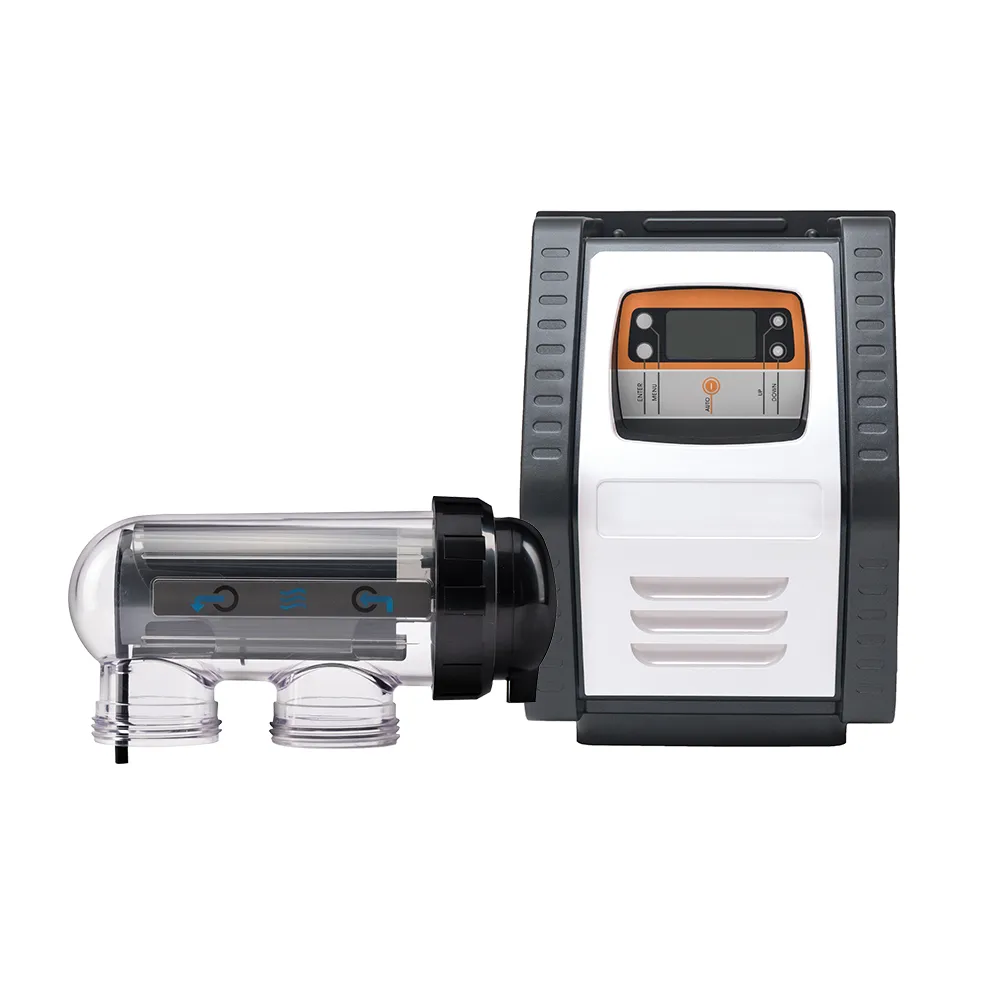
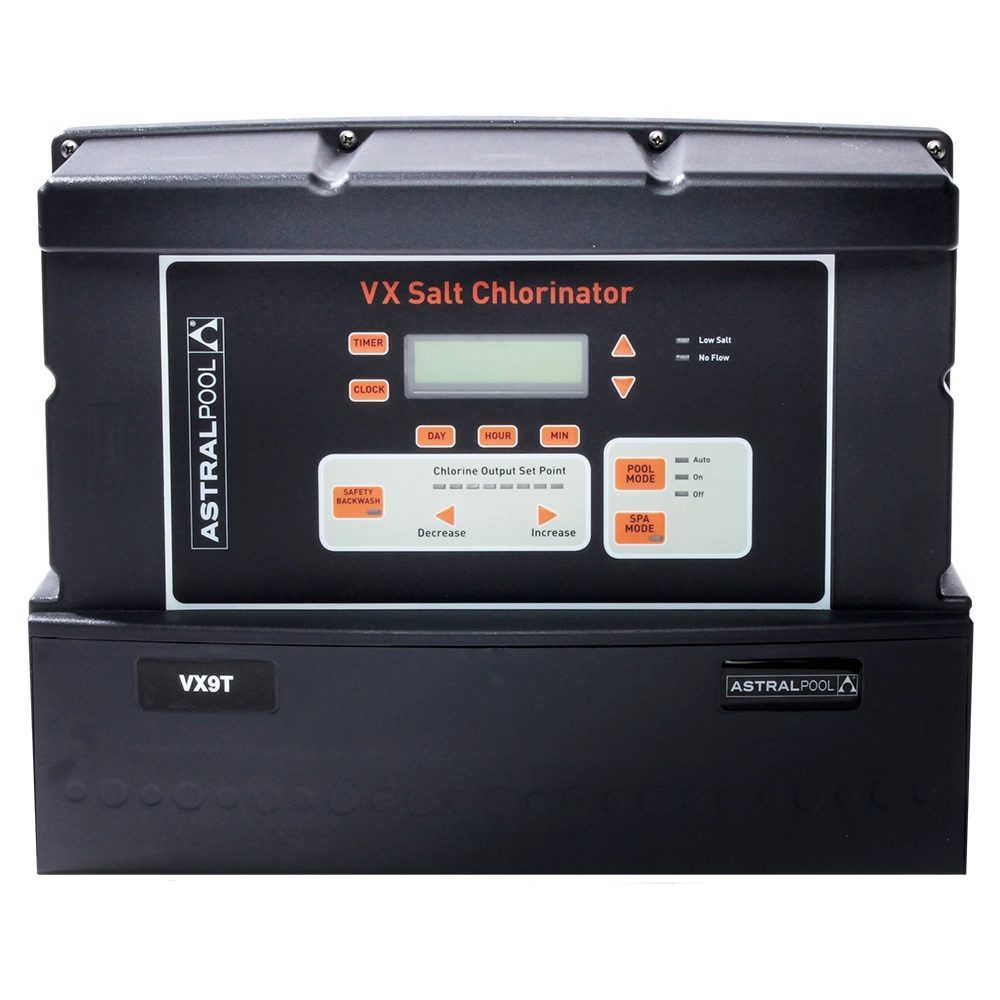
VX9 (VX 9T) and E-Series E35 electrode 21917takes 21917
VX11 (VX 11T) electrode 21918takes 21918
VX7 (VX 7T) electrode 21916takes 21916
How to change the cell on your AstralPool chlorinator
Steps for the Viron V18, eQuilibrium EQ18 and Halo Chlor 18 electrode 12915 (12915), the cell 3 AstralPool models take.
- 1Turn the chlorinator off at the power point, turn the filter pump off and close the valves either side of the cell if you have them.
- 2Disconnect the cell lead: on the VX and Viron undo the wing nuts (the blue sensor wire goes back on the blue terminal); on the E-Series and eQuilibrium unplug the cell terminal cap; on the Halo unclip the end cap and unplug the colour-coded wires.
- 3Unscrew the cell nut (retaining ring) and draw the old electrode out of the clear housing. If the housing is cracked, crazed or weeping, fit a complete cell instead.
- 4Slide the new electrode in with its O-ring seated, screw the nut back on firmly by hand and reconnect the lead the way it came off.
- 5Open the valves, start the pump and check for leaks, then switch the chlorinator back on and set the output.
Different steps for Viron V18, eQuilibrium EQ18 and Halo Chlor 18 complete cell 12905 · Different steps for Viron V25, eQuilibrium EQ25 and Halo Chlor 25 complete cell 12906 · Different steps for Viron V35, eQuilibrium EQ35 and Halo Chlor 35 complete cell 12907 · Different steps for Viron V45, eQuilibrium EQ45 and Halo Chlor 45 complete cell 12908F · Different steps for VX6 and E-Series E25 complete cell 21905 · Different steps for VX9 (VX 9T) and E-Series E35 complete cell 21907 · Different steps for VX7 (VX 7T) complete cell 21906 · Different steps for VX11 (VX 11T) complete cell 21908
After fitting the cell
No reset needed. After fitting, run the pump, switch the chlorinator on and set the output again; the low-salt or no-flow warning should clear once water is flowing through the new cell.
Common questions
- What happens if I don't change the cell?
- A worn cell makes too little chlorine, so the water turns green or cloudy, and turning the output up only wears it faster.
- Does AstralPool make a compatible cell?
- AstralPool makes the genuine cell. Compatible cells for AstralPool models are made by other companies to fit the same models, and Australian sellers we track list both; each part page shows the genuine and compatible prices side by side.
- Is there anything to set after changing the cell on an AstralPool chlorinator?
- No reset needed. After fitting, run the pump, switch the chlorinator on and set the output again; the low-salt or no-flow warning should clear once water is flowing through the new cell.
All 18 AstralPool salt chlorinators we list, A to Z
- E-Series E2521915
- E-Series E3521917
- Halo Chlor 1812915
- Halo Chlor 2512916
- Halo Chlor 3512917
- Halo Chlor 4512918
- Viron eQuilibrium EQ1812915
- Viron eQuilibrium EQ2512916
- Viron eQuilibrium EQ3512917
- Viron eQuilibrium EQ4512918
- Viron V1812915
- Viron V2512916
- Viron V3512917
- Viron V4512918
- VX 7T21916
- VX 9T21917
- VX 11T21918
- VX621915
Brand names describe compatibility only; FitMatch is independent of AstralPool. Fitment sources are recorded on every model page.